Showing posts with label braids. Show all posts

Friday, June 29, 2012

Nicole's elegant fishtailed/ braided hair

                   PROM HAIR #2!
My precious friend, Nicole


Such a simple do, but quite a bit elegant.
How to: Start with the bangs or a front section and fish tail it toward the back.
Secure with a hair tie.
Take another section from the other side and braid or fish tail it. 
Continue braiding or fishtailing different sized sections of hair from both sides.

Tip #1: I purposefully kept from doing one section on the right and then one on the left. If you alternate in a set pattern the style will come across as especially uniform.
Tip #2: Just like taking from right sporadically, I did more braids than I did fishtails. This makes the fish tailed sections look more distinguished and yet again, less uniform.

Once you have the desired number of braids or fishtails, cross them over and overlap them to your hearts content until you have a simple maze. 
Take out the hair ties and try to bobby pin the sections where hair will overlap and make a mystery of what is holding the locks in place. 
                            Finish by spraying, add any pins or clips, and enjoy your special night!


Two down, one more prom hair do to post! 
In the mean time, check out McKenzie Truman, my next gal to post about her luxurious lengths.

Saturday, May 19, 2012

40's type Prom Hair

 High School Prom this year turned out to be just as fun as if I had attended it.
                   I had three friends who asked if I would be in town and could do their hair and I jumped at the opportunity to do so! Luckily that specific weekend I came back into Nashville to work with a caterer for a wedding.
                            Out of the three girls that I got to play with their hair, here is the first I'll share.
         
                    Meet Jennifer!

                                             She has gorgeous hair.

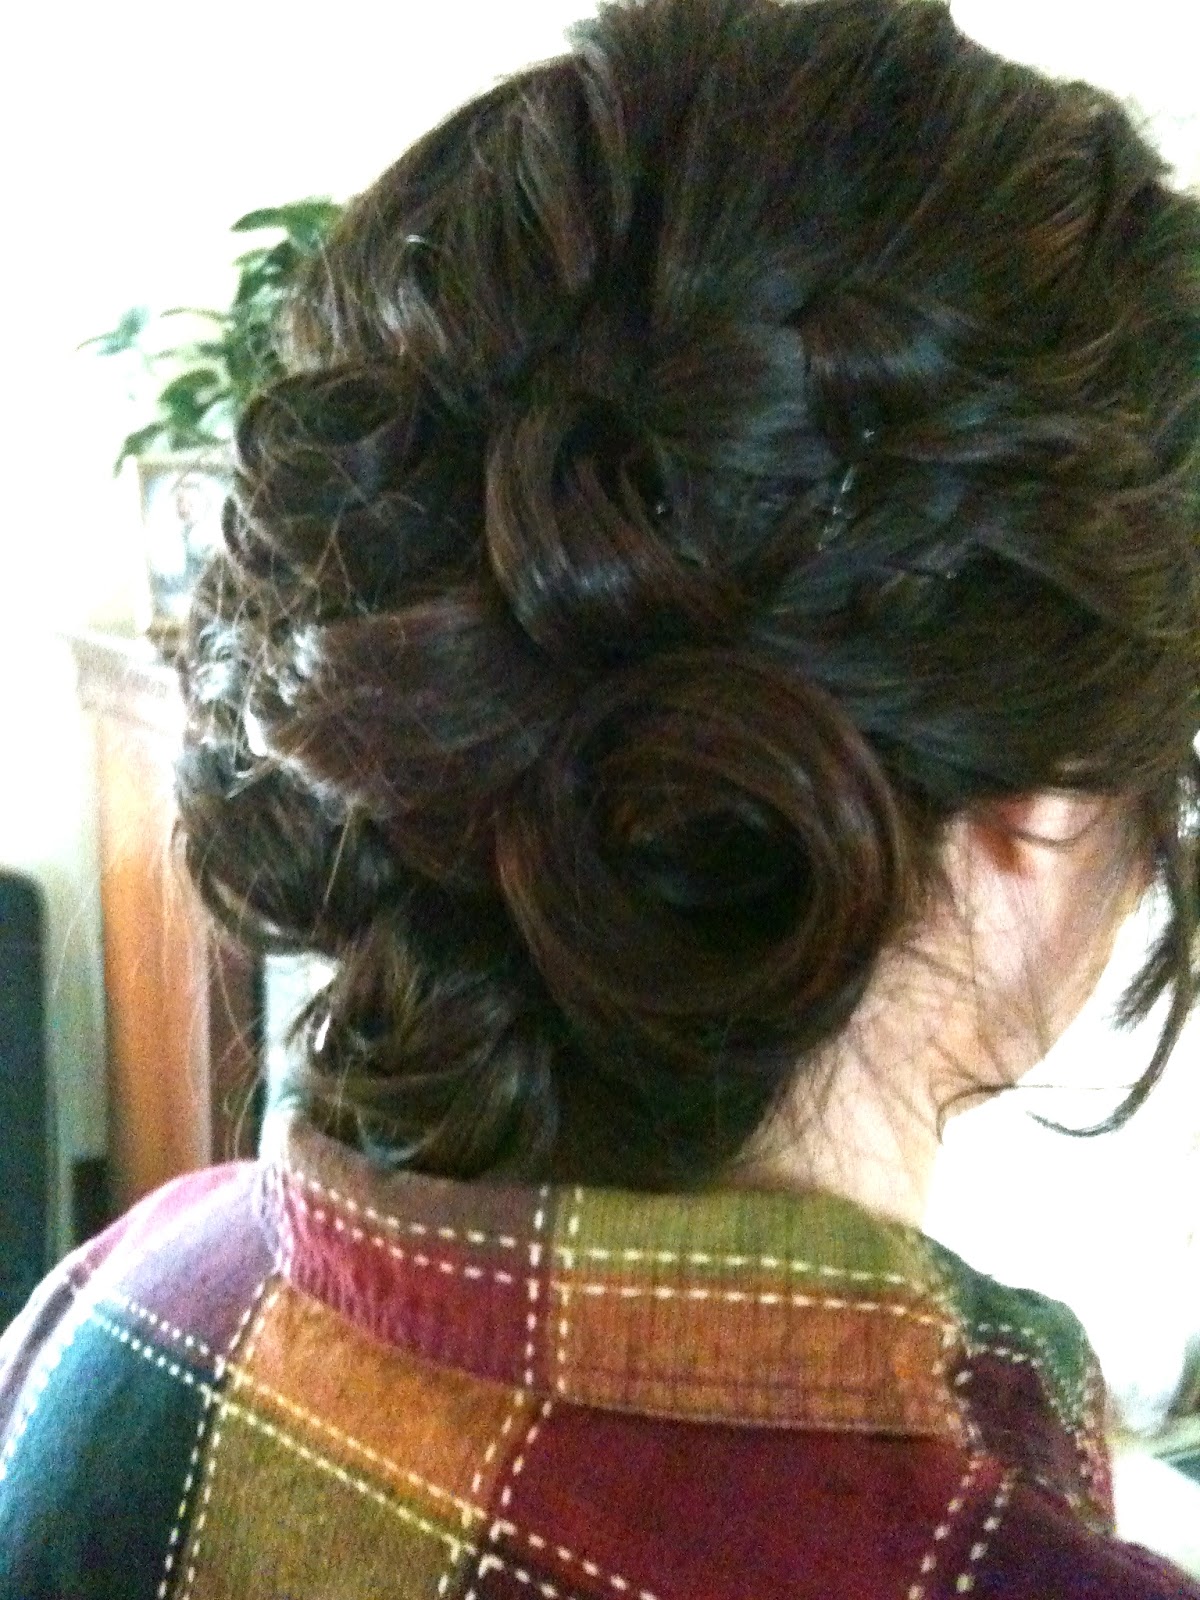
 To start out, I curled her hair in medium sized ringlets. After spraying the curls in place, I loosely braided both the right and left sides of Jennifer's hair. To ensure the braids would stay very securely, I ponytailed the braids at the center of her head. Taking large curls or grouping small ones together, I swirled them to lay flat like a slinky. Pin each slinky-section with two or three carefully placed bobby pins. Continue to "slinky" curls until none remains down. 


                      Shake head.... gently.


After seeing what kind of moves, place a few last minute pins and spray the whole thing.
The shaking is just a fun way to ensure the style will stay. You don't want your client's hair to fall when she starts grooving on the dance floor.


Here is lovely Jennifer in her dress.

Sunday, January 9, 2011

If that's movin' up, then i'm movin' out!

TANGLED!

This was the inspiration of my braid post!
Such a fun movie! If you haven't seen it yet, you have to!
Her hair is incredible. It's a hair blogger type of movie, especially if you adore music and cartoons. I love the flowers set in her hair. I'm hoping to do something like this sometime. When i do achieve such I will most likely use fake flowers, maybe that will be up sometime!
Someone's attempt to make their hair look like Rapunzel's.
WOW!
I'm impressed by this.
It looks as though she has french braided the two sides of her hair starting at the top and continuing it as a normal braid after about 3 to 5 inches of the french style. The middle section that was left over was split into three sections. Two very small normal braids and one large french braided section. She then braided the left right and middle large french braids together while loosely incorporating the two small braids with the right and left sections.


LIE!!!
Gals with layers cannot braid or french braid their hair.
LACE (The beautiful, yet delicate truth to the typical hair myths that girls often buy into)
Such gals with layers really can braid their hair! Braiding hair while wet or slightly damp works miracles!

Thank you PacSun for my sparkly black head band


How To:
Part hair as desired.
Start with bangs or side of head with more hair due to part side.
French braid diagonally back.
Upon reaching a bit above your ear begin to add sections from the side of your head you did not start braiding from.
Continue to braid diagonally down, not across once adding the other side.
Make sure to braid tightly on the original and looser on the opposite sections.
At the nape of your neck add those sections to the french braid loosely as well, resulting in swoopy hair leading to the hanging braid.
TIPS: If you have layers, braid your hair while it is still wet or slightly damp.
Other cute ideas: Use a ribbon on top of your hair tie at the end of your braid.
Stick jeweled pins in the braid at spots that are too loose or your layers are too short.

How to:
Take a section from one side and sweep it across your head to the other side.
Twist slightly at the end of the small section.
Secure with bobby pin.
Repeat 3 times until four sections swoop.
Have the second overlap the first and so on to hide the bobby pins.
Take the remaining hair and french braid it down to the bottom.
Secure with an elastic.
Preferably lightly spray the top crossing sections.

Let me know your unusual braiding styles and I'll post them!